DIY Refrigerator Coil Cleaning: Enhance Appliance Efficiency
Refrigerators play a vital role in preserving our food, but over time, their efficiency can decline. One simple yet effective maintenance task is cleaning the refrigerator coils. By doing this on your own, you can boost your appliance’s performance, save energy, and potentially extend its lifespan. Let’s explore the step-by-step process of cleaning refrigerator coils at home.
Understanding the Importance of Clean Coils
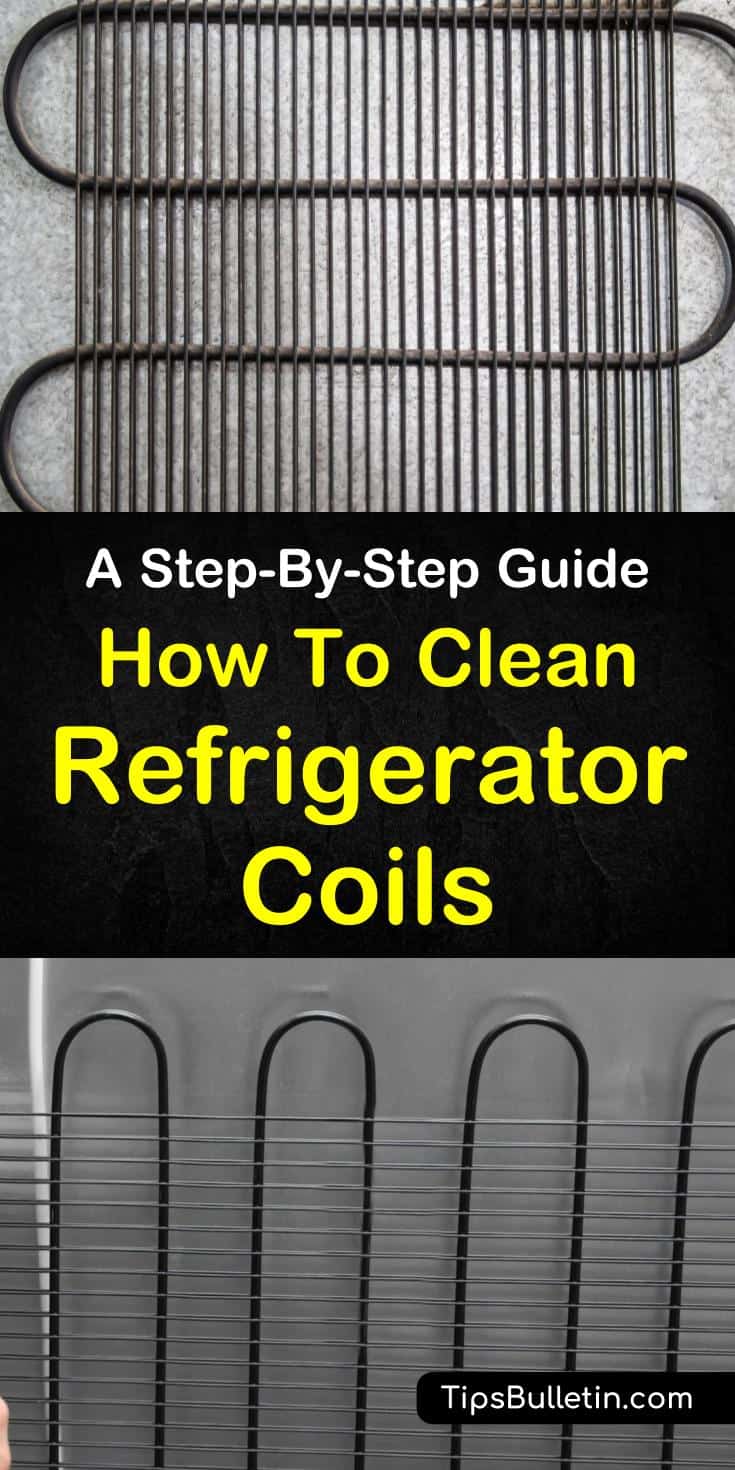
Refrigerator coils, located either at the back or underneath the appliance, are responsible for releasing heat, allowing the refrigerator to cool its interior. When these coils get covered in dust and debris, they can’t dissipate heat efficiently, causing the refrigerator to work harder and consume more energy. Regularly cleaning the coils is essential for maintaining optimal performance.
Identifying the Location of the Coils
Before you begin the cleaning process, it’s crucial to know where the coils are located on your refrigerator. Consult the user manual or look at the back or underneath the appliance. Some refrigerators have coils behind a grille, while others have coils exposed at the back. Familiarize yourself with the coil’s location for a safe and effective cleaning.
Gathering the Necessary Tools
Cleaning refrigerator coils is a straightforward task that requires minimal tools. All you need is a vacuum cleaner with a narrow nozzle attachment and a refrigerator coil brush or a long, soft brush. These tools will help you remove the accumulated dust and debris without damaging the coils or other components.
Preparing the Refrigerator
Before cleaning, unplug the refrigerator from the power source or turn it off at the circuit breaker. This precaution ensures your safety and prevents the risk of electric shock. Additionally, you may want to empty the contents of the refrigerator to access the coils more easily. Place perishable items in a cooler to keep them fresh during the cleaning process.
Removing Surface Debris with a Brush
Begin the cleaning process by using a refrigerator coil brush or a long, soft brush to remove surface debris. Gently brush the coils, grille, or the back of the refrigerator, loosening and dislodging dust and dirt. Be thorough but gentle to avoid damaging the coils or other components.
Vacuuming the Loose Debris
Once you’ve brushed away the loose debris, use a vacuum cleaner with a narrow nozzle attachment to vacuum the coils and surrounding areas. This step helps remove the finer particles that may not be dislodged by brushing alone. Carefully vacuum the coils, grille, and the space beneath the refrigerator.
Reaching Difficult Areas with a Coil Brush
For hard-to-reach areas and tight spaces between the coils, use a coil brush to ensure a thorough cleaning. The brush’s slender design allows you to navigate through the coils and dislodge any remaining debris. Take your time in this step to achieve a comprehensive cleaning.
Cleaning the Floor and Surrounding Areas
While the refrigerator is pulled away from its usual position, take the opportunity to clean the floor and surrounding areas. Dust and debris can accumulate in these spaces, impacting the refrigerator’s overall efficiency. A clean and dust-free environment promotes better airflow around the appliance.
Inspecting Other Components for Maintenance
As you clean the coils, take a moment to inspect other components of the refrigerator. Check for any loose or damaged parts, and ensure that the condenser fan is operating correctly. Regular maintenance and prompt repairs can contribute to the overall longevity and efficiency of your refrigerator.
Returning the Refrigerator to its Place
Once you’ve completed the cleaning and inspection, carefully move the refrigerator back to its original position. Plug it back into the power source or turn on the circuit breaker. Allow the refrigerator to cool for a while before returning the perishable items to ensure proper temperature regulation.
Enjoying the Benefits of a Clean Refrigerator
By cleaning refrigerator coils on your own, you’re taking a proactive step to maintain your appliance’s efficiency. Enjoy the benefits of improved performance, energy savings, and potentially a longer lifespan for your refrigerator. Regularly schedule this simple DIY task to keep your kitchen appliance running smoothly.
Explore More Home Maintenance Tips
For additional DIY home maintenance tips and insights into cleaning refrigerator coils on your own, visit Clean Refrigerator Coils on Your Own. This resource provides detailed guidance, safety tips, and additional information to empower you in enhancing the efficiency of your kitchen appliances. A clean refrigerator contributes to a more energy-efficient and cost-effective home.


