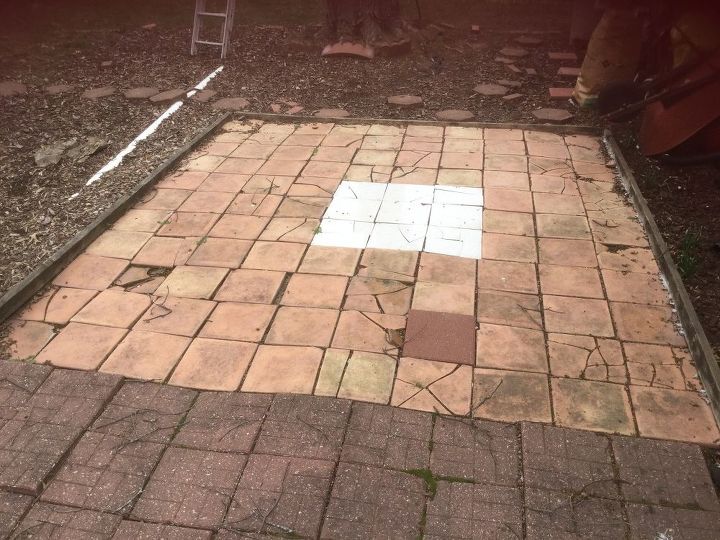
Tile Troubles? Quick Guide to Fixing Broken Tiles at Home
Broken tiles can be an unsightly and inconvenient issue in your home. Whether it’s in the kitchen, bathroom, or any other tiled area, addressing this problem promptly is essential. In this guide, we’ll walk you through a quick and effective process to fix a broken tile, restoring the aesthetics and functionality of your tiled surfaces.
Assessing the Damage and Safety First
The first step in fixing a broken tile is to assess the extent of the damage. Determine whether the tile is merely chipped or completely shattered. If the broken tile is in a high-traffic area, consider temporarily covering it to prevent injuries and further damage. Prioritize safety by wearing protective gear, including gloves and safety glasses, before starting the repair process.
Gathering the Necessary Tools and Materials
Before you begin the repair, gather the necessary tools and materials. You’ll need a grout saw, a chisel, a hammer, tile adhesive, a trowel, a replacement tile, and matching grout. Ensure the replacement tile matches the existing tiles in both size and color. Having all the tools on hand streamlines the repair process and ensures a seamless result.
Removing the Broken Tile and Surrounding Grout
Carefully remove the broken tile by using a grout saw to cut away the grout surrounding it. Once the grout is removed, use a chisel and hammer to carefully break and remove the broken tile pieces. Be cautious not to damage the surrounding tiles during this process. Clean the area thoroughly to ensure proper adhesion for the new tile.
Preparing the Surface for the New Tile
Before installing the new tile, inspect the substrate to ensure it’s in good condition. If any adhesive or mortar remains, scrape it away using a putty knife or scraper. The surface should be clean and level for optimal tile adhesion. If necessary, apply a layer of thin-set mortar to create a smooth and even surface for the replacement tile.
Applying Tile Adhesive and Installing the New Tile
Using a notched trowel, apply tile adhesive to the back of the replacement tile. Press the tile firmly into place, ensuring it aligns with the surrounding tiles. Wiggle the tile slightly to set it securely in the adhesive. Use spacers to maintain even gaps between the tiles. Allow the adhesive to cure according to the manufacturer’s instructions.
Grouting the Newly Installed Tile
Once the adhesive has set, it’s time to grout the newly installed tile. Mix the grout according to the manufacturer’s instructions, ensuring a smooth and lump-free consistency. Using a rubber float, apply the grout to the joints, pressing it into the spaces between the tiles. Wipe away excess grout with a damp sponge before it dries.
Curing and Sealing the Grout
Allow the grout to cure for the recommended time before sealing it. Sealing the grout protects it from stains and enhances its durability. Choose a high-quality grout sealer and apply it using a small brush or applicator. Be sure to follow the sealer’s instructions, and allow sufficient drying time before exposing the tiled area to moisture.
Cleaning and Final Inspection
Once the grout sealer has dried, clean the tiled area with a damp cloth to remove any remaining residue. Inspect the repaired tile for any imperfections or excess grout. Touch up the grout lines if needed, ensuring a seamless and polished finish. Step back and admire your handiwork – the broken tile is now a distant memory.
Exploring More Home Repair Solutions
For additional home repair insights and funding options, visit fundyourpurpose.org. Whether you’re fixing a broken tile or considering other projects, this platform provides valuable resources to help you achieve your home improvement goals.
Conclusion: A Revived Tiled Space
By following these steps, you can successfully fix a broken tile and revive the appearance of your tiled spaces. Prompt attention to broken tiles prevents further damage and maintains the overall aesthetics of your home. Invest a little time in this quick repair, and enjoy the beauty and functionality of your seamlessly restored tiled surfaces.


