Upgrade Your Entrance: Easy Steps to Replace a Doorknob
A simple yet impactful way to enhance your home’s appearance is by upgrading your doorknobs. Whether you’re looking to replace a worn-out doorknob or want to give your doors a fresh look, this guide provides easy steps for a successful doorknob replacement project.
Choosing the Right Doorknob Style
Before diving into the replacement process, consider the style of doorknob that suits your preferences and complements your home’s aesthetic. Choose from a variety of options, including classic round knobs, lever handles, or decorative designs. Select a style that aligns with your interior design and meets your functional needs.
Gathering Necessary Tools and Materials
Ensure you have all the necessary tools and materials for the replacement. Typically, you’ll need a screwdriver, a tape measure, and the new doorknob set. Before purchasing a new doorknob, measure the diameter of the existing borehole to ensure compatibility with the replacement.
Removing the Existing Doorknob
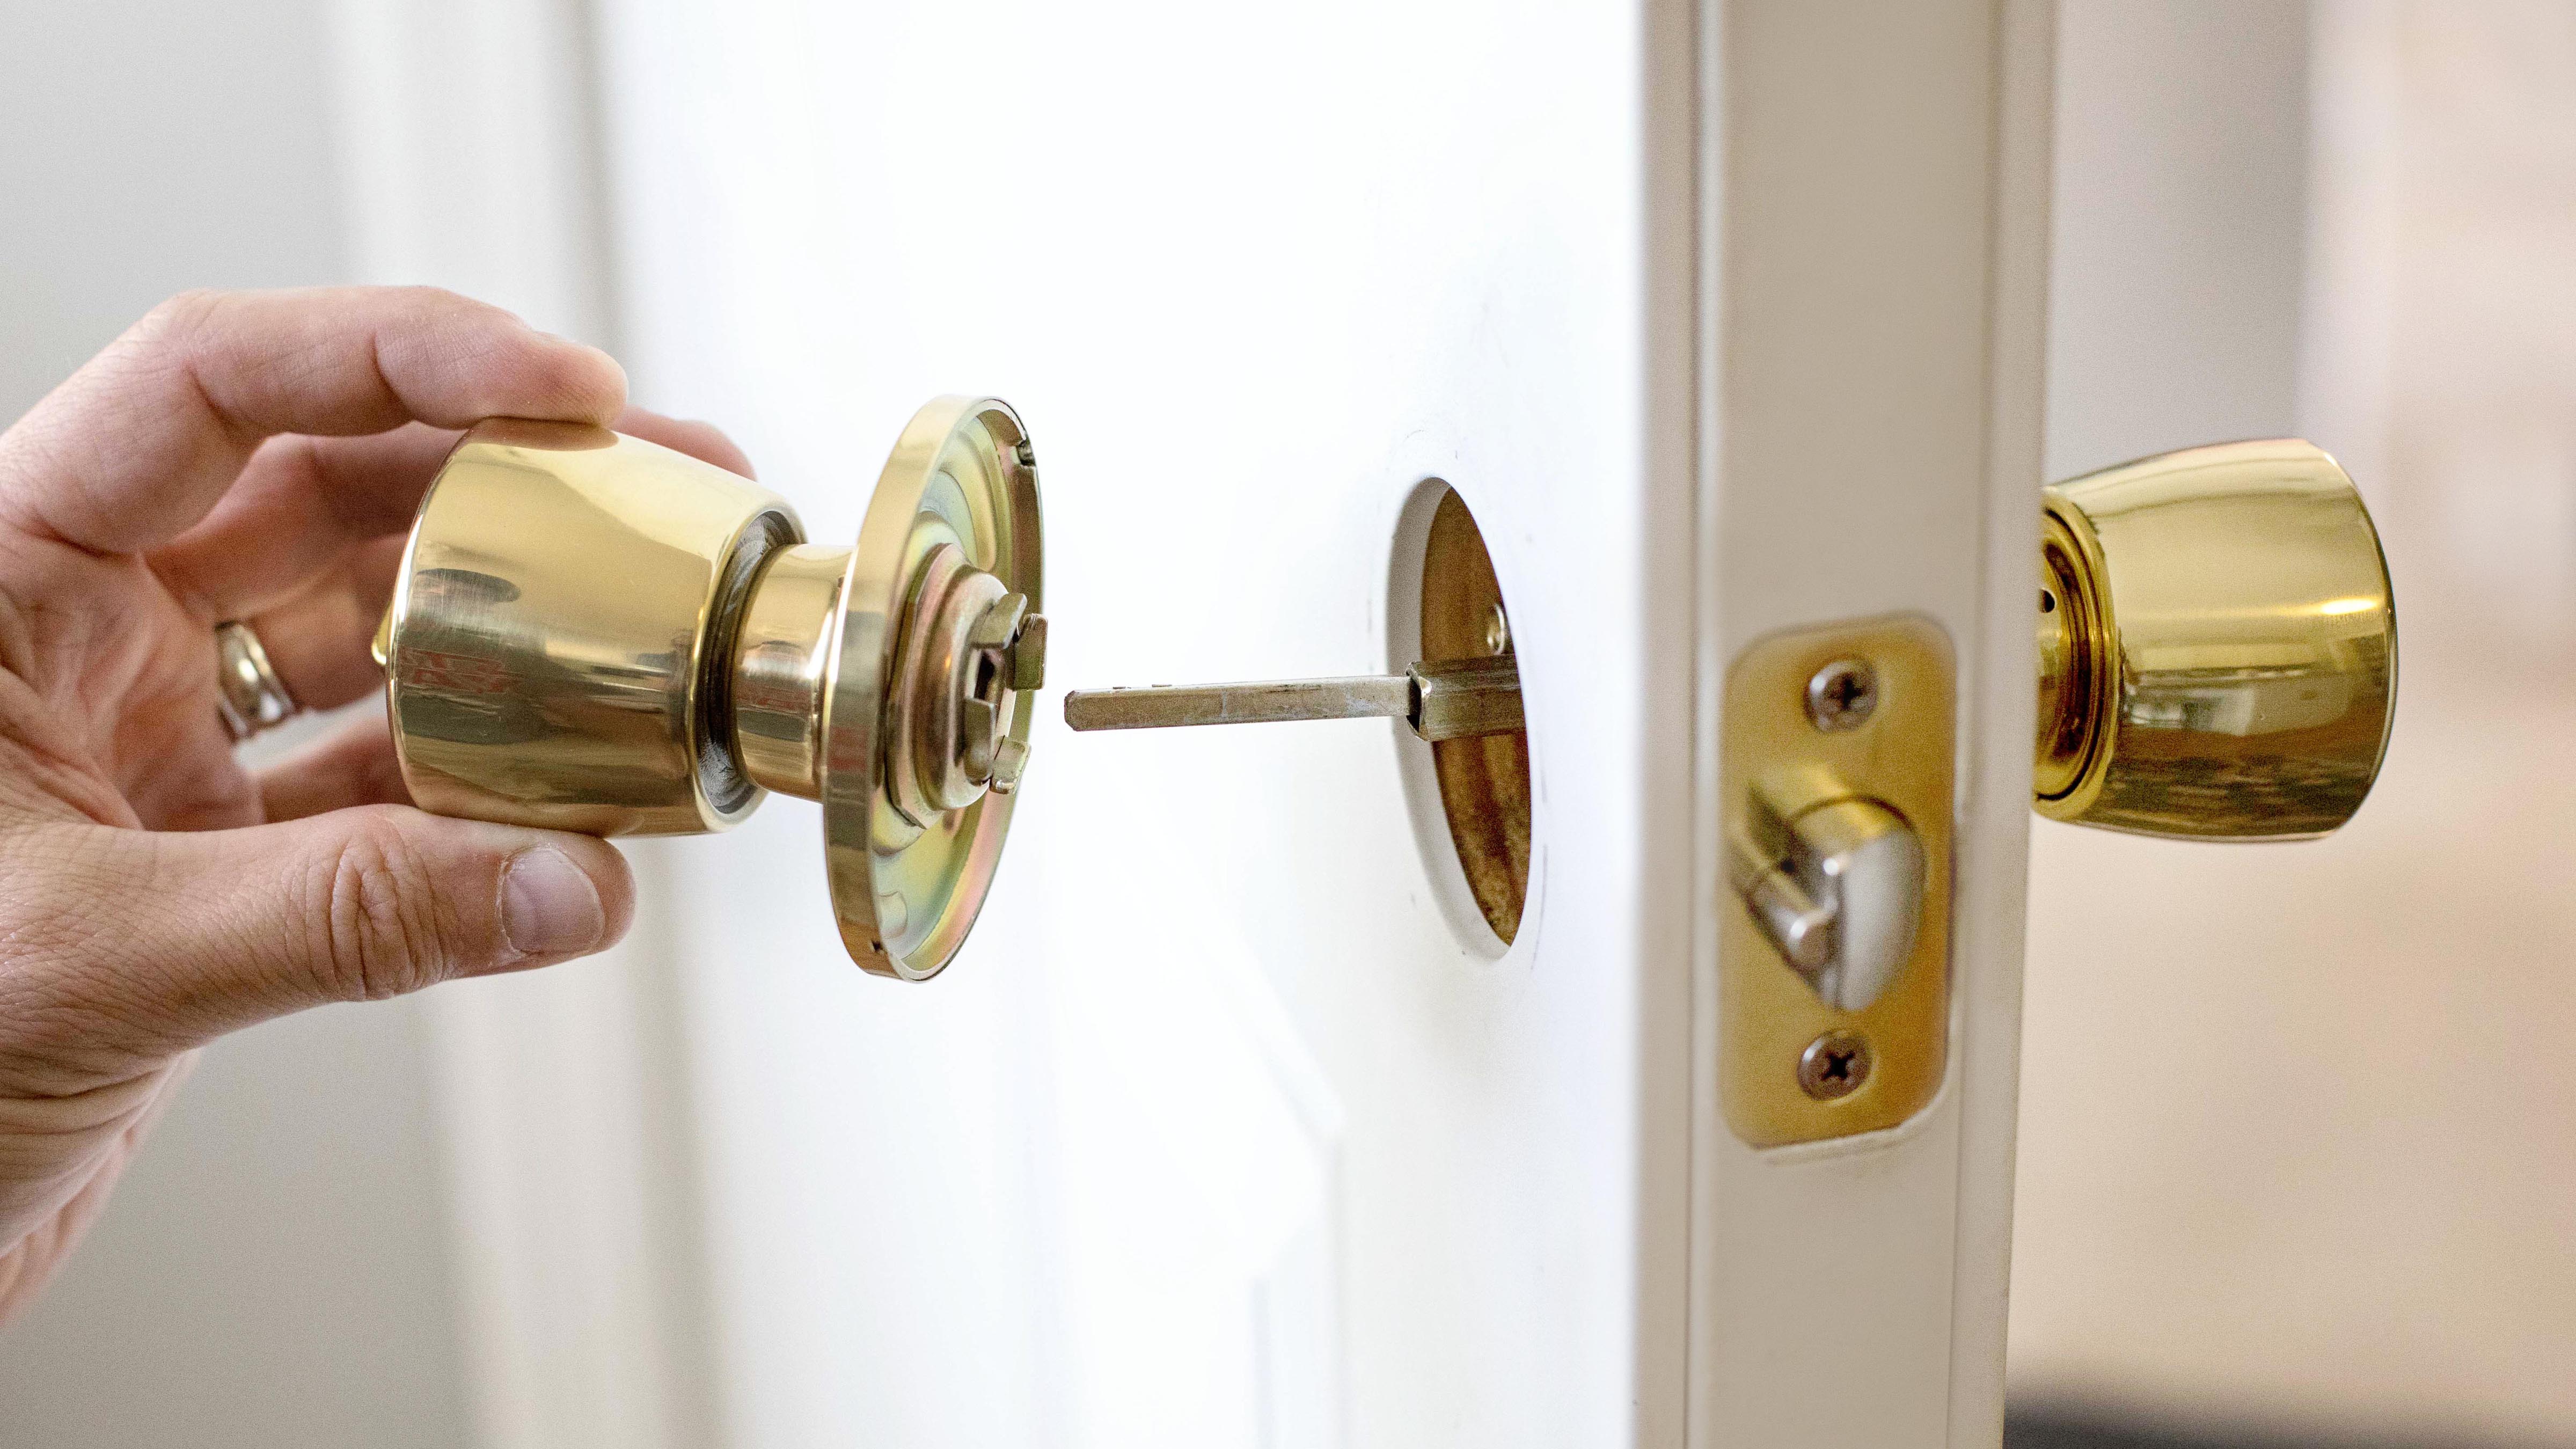
Start the replacement process by removing the existing doorknob. Locate the screws on the interior side of the door and unscrew them using a screwdriver. Once the screws are removed, separate the two halves of the doorknob. If there’s a decorative plate or rose, gently pry it away from the door.
Taking Note of the Door’s Backset Measurement
Before installing the new doorknob, take note of the door’s backset measurement. The backset is the distance between the edge of the door and the center of the borehole. Common backset measurements are 2 3/8 inches or 2 3/4 inches. Choose a new doorknob set with the matching backset to ensure proper alignment.
Installing the New Latch and Strike Plate
Begin installing the new doorknob by inserting the latch into the borehole. Ensure the beveled side of the latch faces the direction the door closes. Secure the latch in place with the screws provided in the doorknob set. Next, attach the strike plate to the door jamb, ensuring it aligns with the latch. Secure the strike plate with screws.
Attaching the Exterior and Interior Doorknobs
With the latch and strike plate in place, proceed to attach the exterior and interior doorknobs. Most doorknob sets come with two halves, each secured to one side of the door. Align the screws with the corresponding holes and tighten them using a screwdriver. Ensure both halves are securely attached.
Verifying Proper Operation and Alignment
After installing the new doorknob, test its operation to ensure smooth turning and latching. Check that the latch properly engages with the strike plate, providing secure closure. If needed, make minor adjustments to the position of the strike plate or latch to achieve proper alignment.
Adding Finishing Touches
Complete the replacement by adding any finishing touches, such as decorative rosettes or backplates that may come with the doorknob set. These elements enhance the overall appearance of the door and provide a polished look to your upgraded entrance.
Repeat the Process for Additional Doorknobs
If you’re replacing multiple doorknobs in your home, repeat the process for each door. Ensure consistent measurements for backset and alignment to maintain a uniform look throughout your living space.
Dispose of Old Doorknobs Responsibly
Once the replacement is complete, dispose of the old doorknobs responsibly. If they are in good condition, consider donating them to a local salvage or reuse center. If they are no longer usable, check with your local waste disposal guidelines for proper disposal methods.
Explore Doorknob Options at FundYourPurpose.org
For a variety of doorknob options and expert advice on replacement projects, visit FundYourPurpose.org. Their specialists can assist you in finding the perfect doorknob sets that align with your style and enhance the overall look of your home. Upgrade your entrance with confidence and ease.


