Introduction:
Maintaining the efficiency of your refrigerator is crucial for preserving food and reducing energy consumption. One often overlooked but essential task is cleaning the refrigerator coils. In this guide, we’ll explore the importance of this DIY maintenance step and provide a step-by-step process to help you clean refrigerator coils on your own.
Understanding Refrigerator Coils:
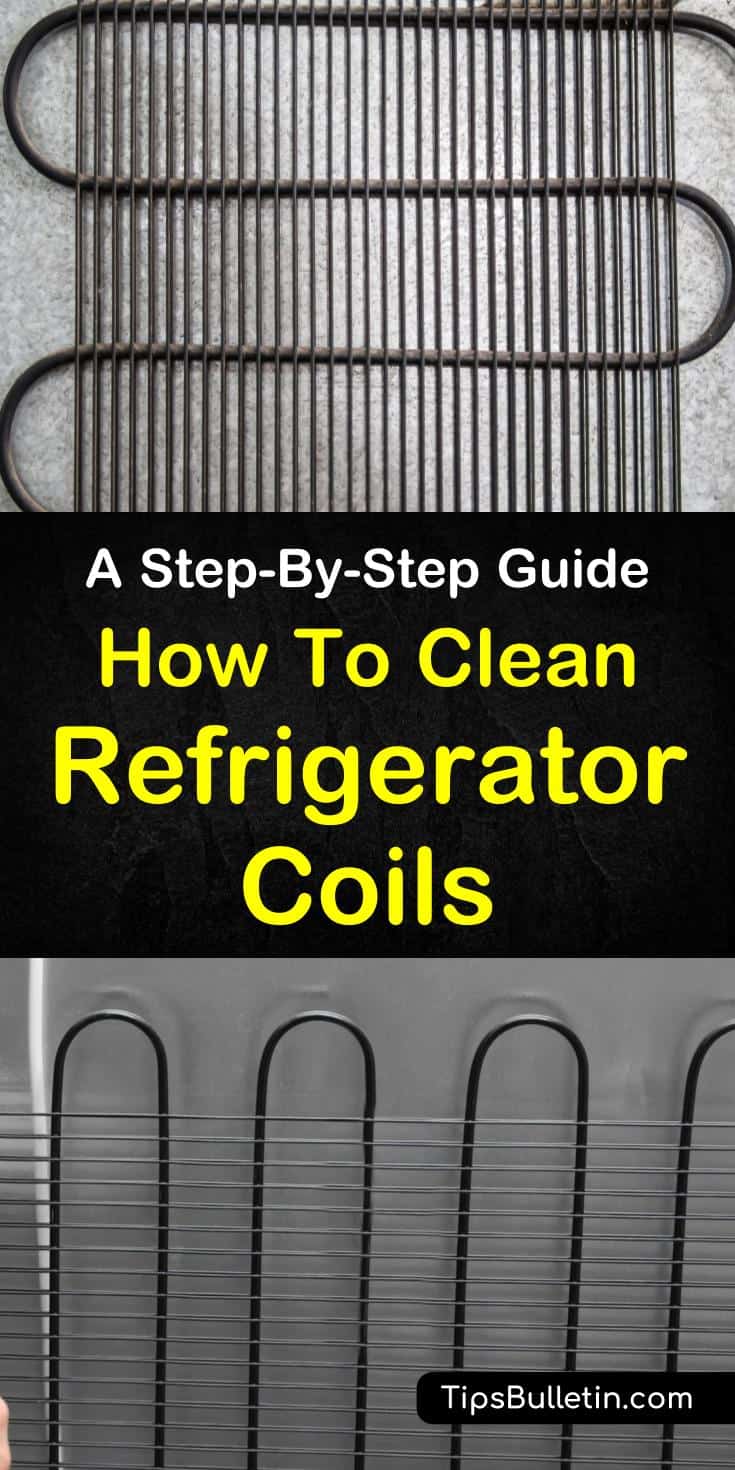
Refrigerator coils, located either on the back or underneath the appliance, are responsible for releasing heat, allowing the refrigerator to cool its interior. Over time, these coils accumulate dust and debris, hindering their ability to dissipate heat efficiently. Cleaning them regularly ensures optimal performance.
Why Cleaning Coils Matters:
Dirty coils force the refrigerator to work harder to maintain the desired temperature, leading to increased energy consumption. This not only raises your electricity bill but also shortens the lifespan of the appliance. By cleaning the coils, you can improve efficiency, save energy, and extend the life of your refrigerator.
Locating the Coils:
Before you begin, it’s essential to locate the refrigerator coils. Depending on the model, you’ll find them either on the back of the refrigerator or underneath, behind a kick plate. Refer to the user manual if you’re unsure about the location. Once identified, unplug the refrigerator to ensure safety during the cleaning process.
Gathering Cleaning Supplies:
Cleaning refrigerator coils is a straightforward task that requires minimal supplies. All you need is a vacuum cleaner with a brush attachment or a coil cleaning brush. Additionally, have a soft cloth or a sponge on hand to wipe away any residual dust.
Removing Dust and Debris:
Start by using the brush attachment on your vacuum cleaner or a coil cleaning brush to gently remove the accumulated dust and debris from the coils. Work carefully to avoid damaging the coils or other components. Pay close attention to corners and edges where debris tends to accumulate.
Vacuuming the Surrounding Area:
As you clean the coils, some dust and debris may fall onto the floor or surrounding area. Take a few extra minutes to vacuum the floor and any nearby surfaces. This ensures that the removed debris doesn’t find its way back to the coils or other parts of the refrigerator.
Wiping Down Coils and Exterior:
After vacuuming, use a soft cloth or sponge to wipe down the coils and the exterior of the refrigerator. This helps remove any remaining particles and gives your appliance a clean and polished look. Be gentle to avoid scratching the surface.
Reconnecting the Refrigerator:
Once you’ve completed the cleaning process, plug the refrigerator back into the power source. Allow it some time to reach the desired temperature before placing food items back inside. Regularly cleaning the coils will contribute to consistent cooling performance.
Scheduling Regular Maintenance:
To ensure the ongoing efficiency of your refrigerator, incorporate coil cleaning into your regular maintenance schedule. Aim to clean the coils at least twice a year or more frequently if you have pets or live in a dusty environment. Consistent maintenance helps prevent the accumulation of debris.
Monitoring Refrigerator Performance:
After cleaning the coils, pay attention to the performance of your refrigerator. Monitor temperature levels and listen for any unusual sounds. If you notice a significant improvement in efficiency or encounter any issues, it may be a sign to schedule professional maintenance or repairs.
Conclusion – DIY Efficiency Boost:
Cleaning refrigerator coils on your own is a simple yet impactful DIY task that contributes to the efficiency and longevity of your appliance. By taking the time to perform this maintenance regularly, you’ll not only save on energy costs but also ensure your refrigerator continues to keep your food fresh for years to come.
For a detailed tutorial on cleaning refrigerator coils yourself, visit Clean Refrigerator Coils on Your Own.


