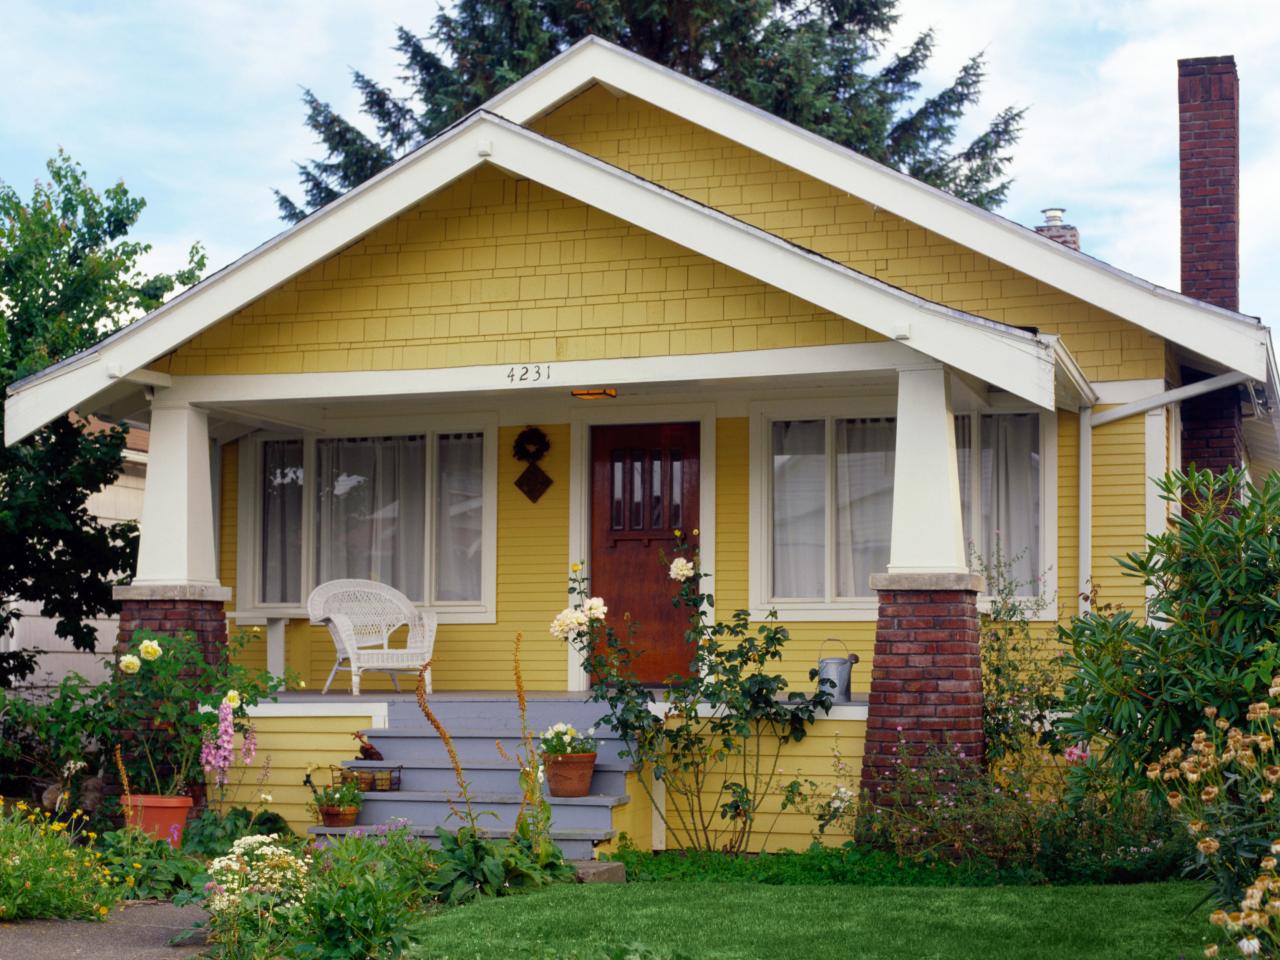
DIY Home Exterior Makeover: Repaint Like a Pro
Embarking on a journey to repaint the exterior of your home can be a rewarding and transformative experience. With the right tools, preparation, and a dash of creativity, you can achieve professional-looking results while saving on labor costs. Let’s dive into a comprehensive guide on how to repaint the exterior of your home yourself.
Gather Your Materials and Tools
Before you start the painting process, ensure you have all the necessary materials and tools. This includes high-quality exterior paint, primer, brushes, rollers, painter’s tape, drop cloths, and a sturdy ladder. Invest in top-notch materials to ensure a durable and long-lasting finish.
Prepare and Clean the Surface
Proper preparation is key to a successful exterior painting project. Begin by cleaning the surface thoroughly to remove dirt, mildew, and any loose or peeling paint. A power washer can be a valuable tool for this task. Allow the surface to dry completely before moving on to the next steps.
Repair and Prime Surfaces
Inspect the exterior for any damages such as cracks, holes, or rot. Repair these issues using appropriate fillers or sealants. Once repairs are complete, apply a primer to create a smooth and uniform surface for the paint. Priming helps the paint adhere better and enhances its longevity.
Choose the Right Exterior Paint
Selecting the right exterior paint is crucial for a successful DIY project. Consider factors such as the climate in your region, the type of surface you’re painting, and your desired finish. Opt for a high-quality paint that offers durability and resistance to weather elements.
Protect Surrounding Areas
Before you start applying paint, take the time to protect surrounding areas. Use painter’s tape to mask off windows, doors, trim, and any other areas you don’t want to paint. Lay down drop cloths to shield the ground and landscaping from accidental splatters.
Use the Right Painting Technique
When it comes to painting the exterior of your home, technique matters. Use a brush for detailed work on trim and edges, and a roller for larger surfaces. Work in small sections, applying paint in long, even strokes. Be mindful of the direction of the wood grain or siding to achieve a seamless finish.
Pay Attention to Weather Conditions
The success of your exterior painting project is also dependent on weather conditions. Choose a time when the weather is dry and mild, avoiding extreme heat or cold. Ensure there’s no rain in the forecast for at least 24 hours after completing the painting to allow the paint to cure properly.
Apply Multiple Coats for Durability
For a professional and durable finish, plan to apply multiple coats of paint. This not only enhances the color depth but also provides an extra layer of protection. Allow each coat to dry completely before applying the next, following the recommended drying times on the paint can.
Take Breaks and Pace Yourself
Exterior painting is a time-consuming task, and it’s essential to pace yourself. Take breaks to avoid fatigue and ensure you maintain precision in your work. Stay hydrated, wear appropriate protective gear, and don’t rush the process. A well-executed paint job requires attention to detail and patience.
Step Back and Admire Your Work
Once the final coat is applied and dried, step back and admire the transformation. Your DIY home exterior makeover is now complete. Take pride in the fact that you’ve not only saved on labor costs but also added significant value to your home with a fresh and vibrant exterior.
Explore Fund Your Purpose for More Home Improvement Tips
For additional home improvement tips and inspiration, visit Fund Your Purpose. The platform offers valuable resources to empower you in various DIY endeavors. Whether you’re tackling exterior painting or other home projects, Fund Your Purpose is your go-to source for practical insights and expert advice.