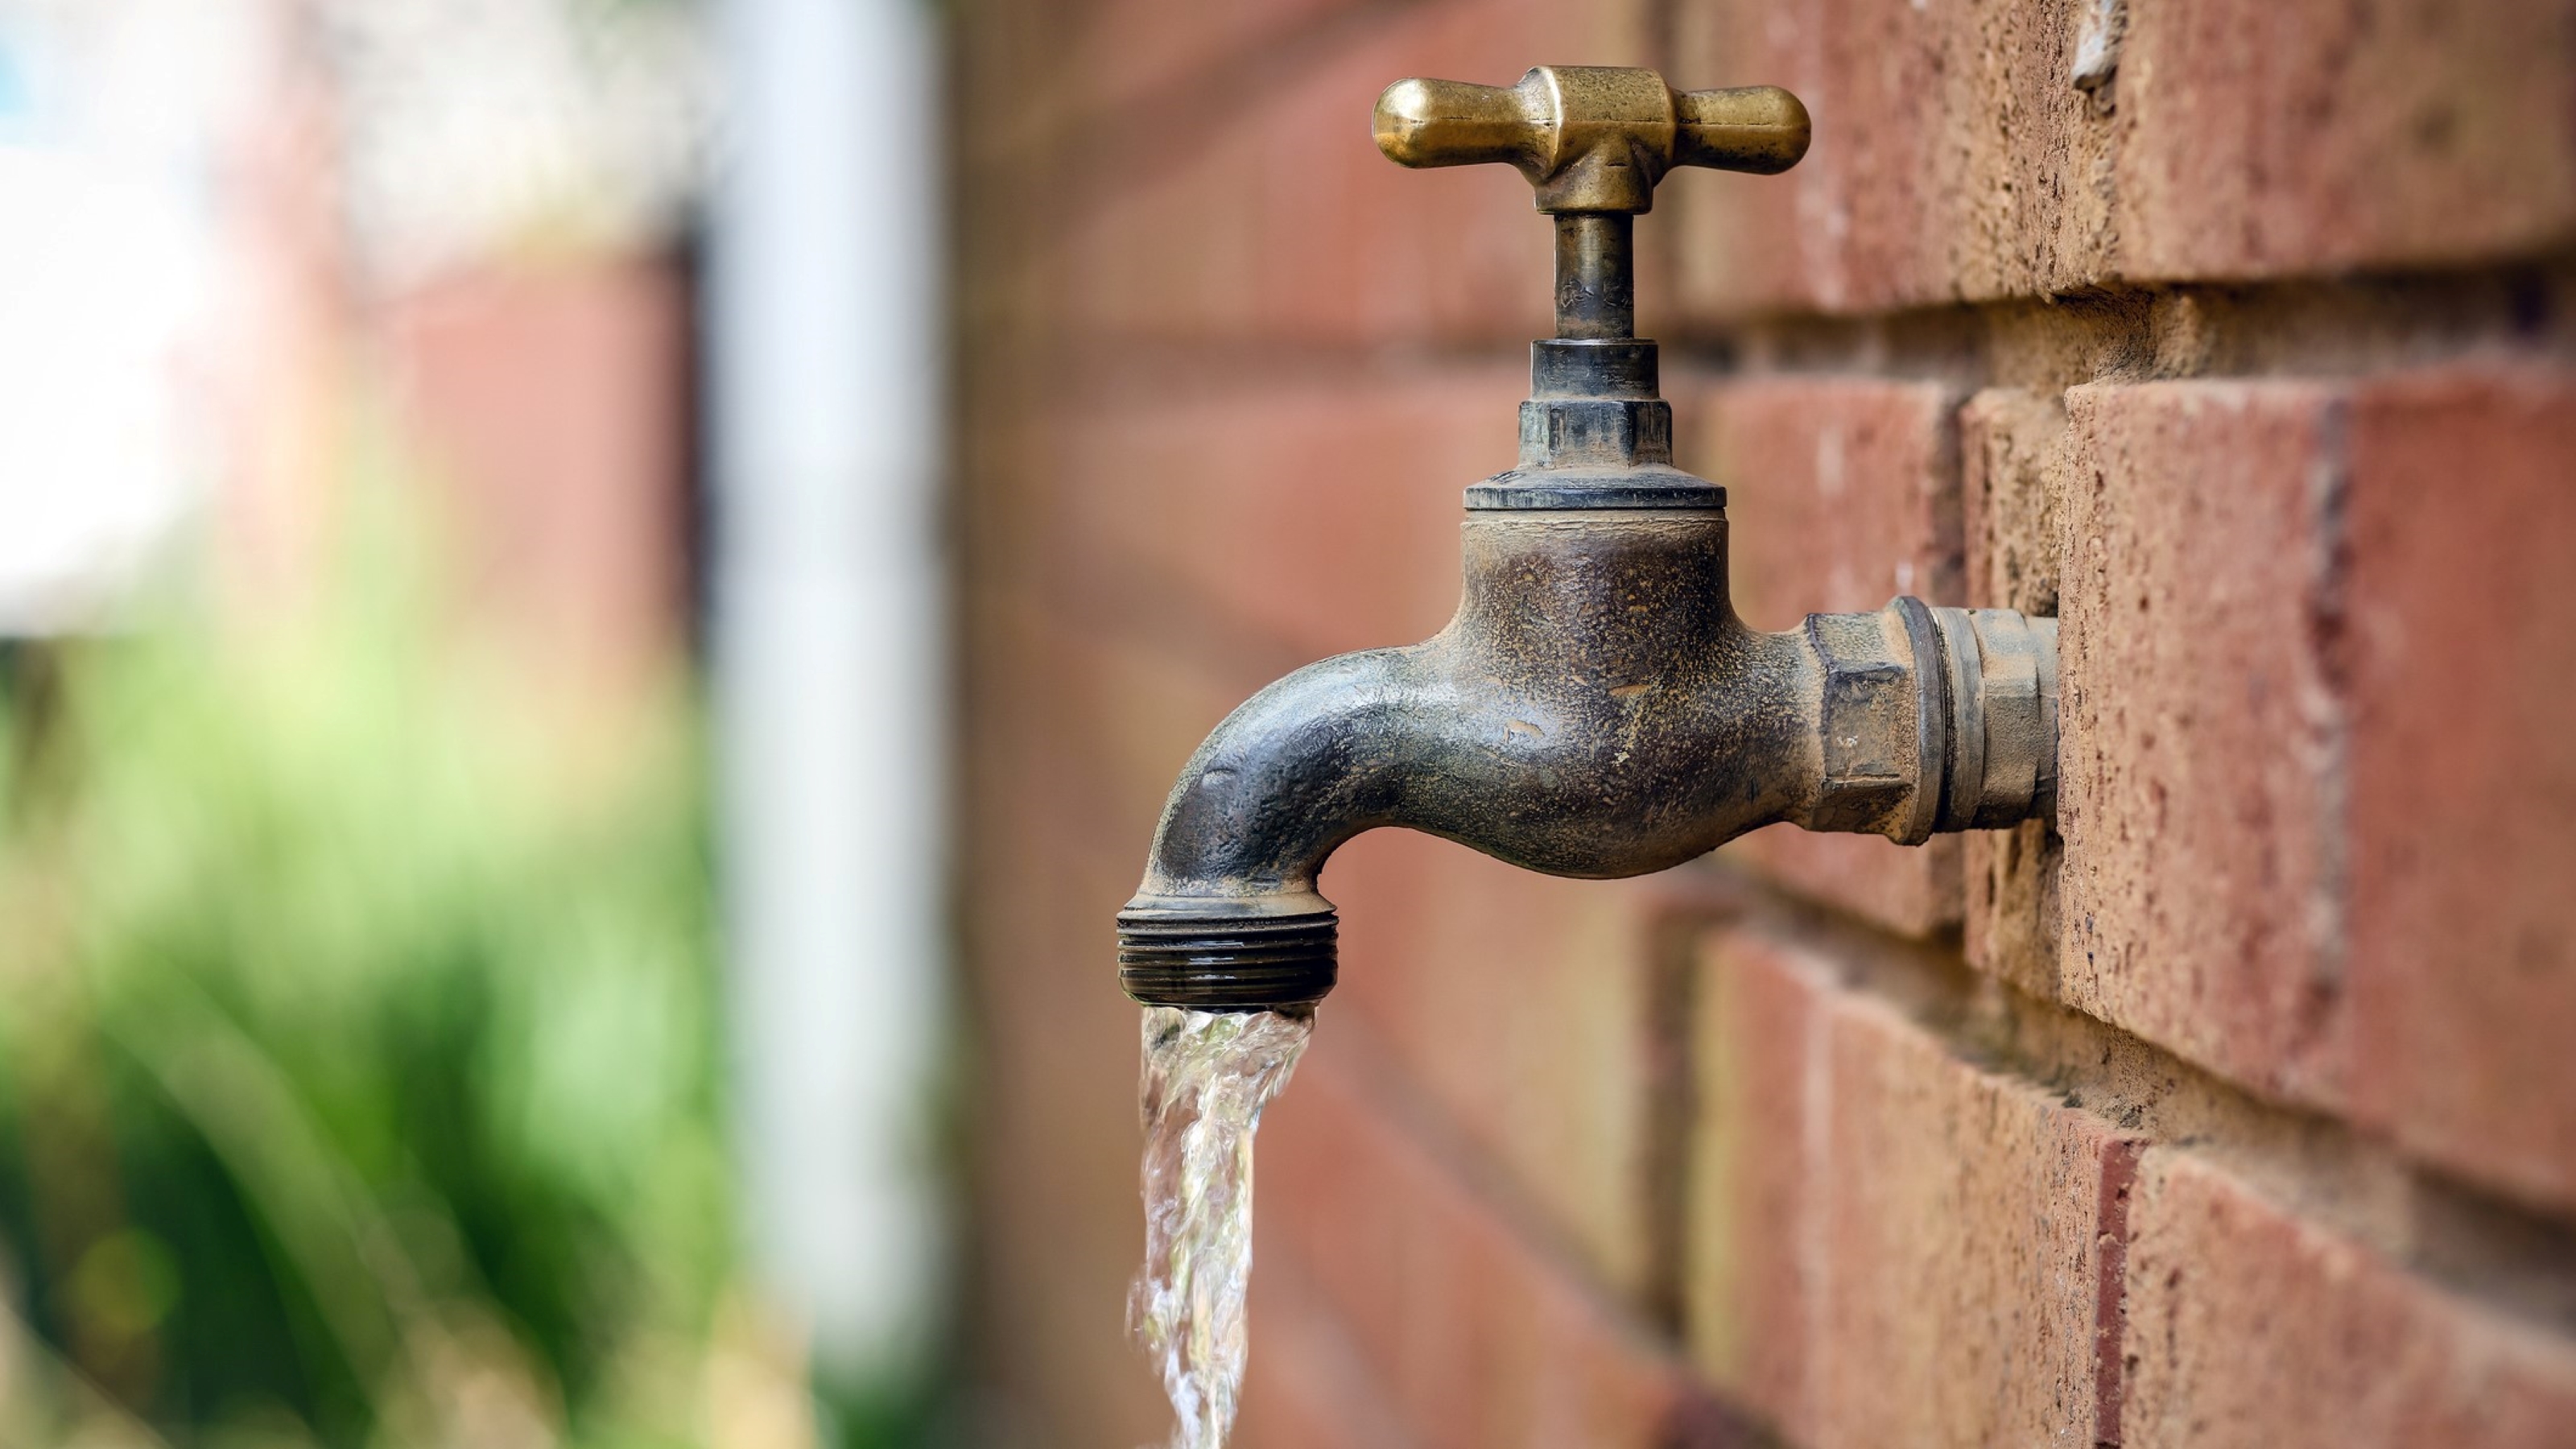
DIY Winterization: Safeguard Your Exterior Faucets
As winter approaches, it’s crucial to protect your home from the potential damage that freezing temperatures can bring. Winterizing your exterior faucets is a vital step in preventing burst pipes and costly repairs. This comprehensive guide will walk you through the process of winterizing your exterior faucets yourself.
Understanding the Importance of Winterization
Winterizing exterior faucets is essential to prevent water from freezing inside the pipes, which can lead to pipe bursts and water damage. By taking proactive steps to protect your faucets, you can avoid the hassle and expense of dealing with frozen and ruptured pipes during the winter months.
Locate and Shut Off the Water Supply
The first step in winterizing your exterior faucets is to locate the water shut-off valve that supplies water to the outdoor spigots. This valve is typically found near the point where the water pipe enters your home. Turn the valve clockwise to shut off the water supply to the exterior faucets.
Drain the Water from the Faucets
After shutting off the water supply, open the exterior faucets to allow any remaining water to drain out. Start by opening the outdoor spigots and then move inside to open the corresponding indoor faucets connected to the same water line. This helps to ensure that all the water is drained from the pipes.
Install Frost-Proof Faucets or Hose Bib Covers
Consider installing frost-proof faucets if you don’t already have them. These faucets are designed to prevent freezing by keeping water further inside the heated portion of your home. If frost-proof faucets aren’t an option, use hose bib covers to insulate and protect the outdoor spigots from freezing temperatures.
Detach and Store Garden Hoses
Disconnect all garden hoses from the exterior faucets and drain any water trapped inside them. Store the hoses in a dry and sheltered location, such as a garage or shed. This prevents water from freezing inside the hoses, which can cause damage and reduce their lifespan.
Apply Insulating Covers to Exterior Faucets
For an extra layer of protection, consider using insulating covers on your exterior faucets. These covers are designed to shield the faucets from extreme cold and can be especially beneficial in regions with severe winter weather. Insulating covers are easy to install and provide an added safeguard against freezing temperatures.
Seal Gaps and Cracks in the Exterior
Inspect the area around your exterior faucets for any gaps or cracks in the walls, foundation, or siding. Seal these openings using caulk or insulation to prevent cold air from reaching the pipes. Adequate insulation helps maintain a warmer environment around the pipes, reducing the risk of freezing.
Use Heat Tape for Added Protection
In areas prone to extremely low temperatures, consider using heat tape on your exterior faucets. Heat tape is an electrically powered cord that wraps around the pipes and provides a gentle heat source to prevent freezing. Follow the manufacturer’s instructions for proper installation and usage.
Regularly Check and Maintain Winterization Measures
Winterizing your exterior faucets is not a one-time task; it requires regular checks and maintenance. Periodically inspect the covers, seals, and insulation to ensure they are intact and in good condition. Make any necessary repairs or replacements to guarantee continued protection throughout the winter.
Explore Fund Your Purpose for More Home Maintenance Tips
For additional home maintenance tips and DIY insights, visit Fund Your Purpose. The platform offers valuable resources to empower you in various DIY endeavors. Whether you’re winterizing your exterior faucets or tackling other home projects, Fund Your Purpose is your go-to source for practical insights and expert advice.


