.jpg "Elevate Your Outdoor Space with Modern Backyard Furniture")


Introduction:
Roof leaks are a common issue that homeowners may face, and addressing them promptly is crucial to prevent further damage to your home’s interior. In this DIY guide, we’ll provide step-by-step instructions on how to inspect and repair roof leaks on your own, saving you time and money in the process.
Identifying the Source of the Leak:
Before attempting any repairs, it’s essential to identify the source of the roof leak. Begin by inspecting the interior of your home, looking for water stains, mold, or damp spots on the ceiling. Once you locate the affected area, trace it back to the roof to determine the point of entry. This initial inspection guides you to the specific area that needs attention.
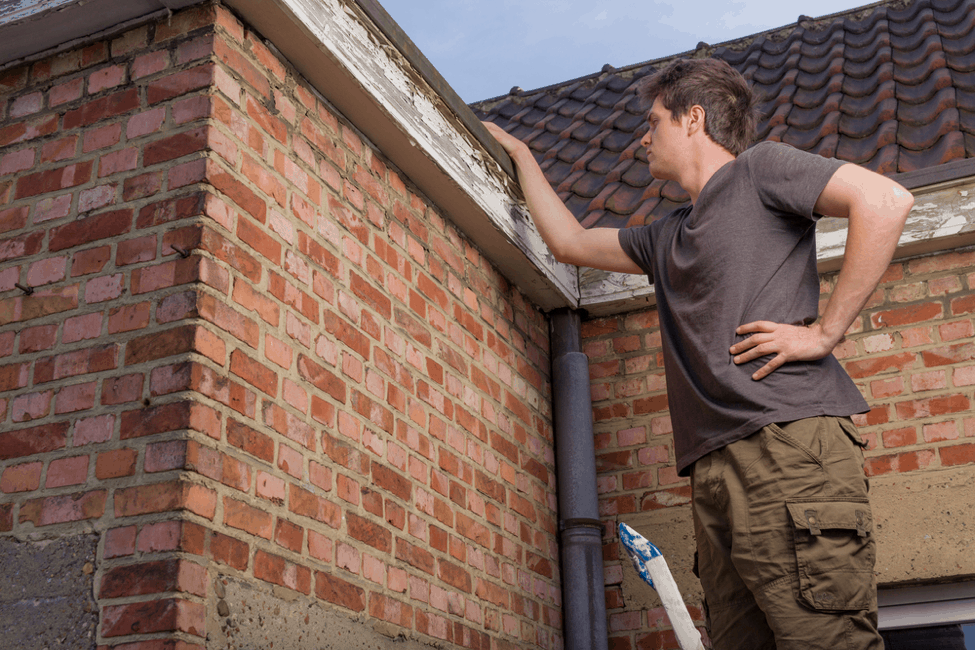
Checking the Roof for Visible Damage:
Once you’re on the roof, carefully inspect the area surrounding the leak. Look for visible signs of damage such as missing or damaged shingles, cracked flashing, or deteriorated sealant around vents and chimneys. Pay close attention to areas where different roofing materials meet, as these junctions are common points of vulnerability.
Repairing Damaged Shingles:
If the leak is attributed to damaged shingles, repairing or replacing them is a straightforward task. Carefully lift the edges of the damaged shingles using a pry bar and remove the roofing nails holding them in place. Slide out the damaged shingle and replace it with a new one, securing it with new nails. Ensure a proper fit and use roofing cement to seal the edges.
Fixing Flashing Issues:
Flashing is a thin metal strip used to waterproof transitions and joints on the roof. If the leak originates from damaged flashing, assess whether it needs to be repaired or replaced. Remove the damaged flashing using a pry bar, clean the area thoroughly, and install new flashing, securing it with roofing nails. Apply roofing cement to create a watertight seal.
Sealing Vents and Chimneys:
Leaks around vents and chimneys often result from worn or cracked sealant. Inspect the seals and replace any that show signs of deterioration. Use a putty knife to remove the old sealant, clean the area, and apply new roofing sealant to ensure a secure and water-resistant seal. Pay attention to the details, as a well-sealed chimney or vent is essential for preventing leaks.
Examining Gutters and Downspouts:
Clogged or damaged gutters and downspouts can contribute to roof leaks by causing water to back up and seep under the roofing materials. Regularly clean gutters and downspouts to ensure proper water drainage. Repair or replace any damaged sections, and consider installing gutter guards to prevent debris buildup.
Inspecting Attic Ventilation:
Proper attic ventilation is crucial for preventing moisture buildup that can lead to roof leaks. Inspect attic vents and ensure they are free of blockages. Additionally, check insulation for signs of mold or dampness, as these indicate potential leaks. Proper attic ventilation plays a significant role in maintaining a dry and leak-free roof.
Addressing Ice Dams in Winter:
In colder climates, ice dams can contribute to roof leaks. Insulate your attic to prevent warm air from escaping and forming ice dams on the roof. If ice dams are already present, use a roof rake to remove snow and ice carefully. Avoid using sharp tools that could damage the roofing materials.
Applying a Temporary Patch:
If you’re unable to address the leak immediately or need a temporary solution, use roofing cement or a waterproof sealant to create a patch over the affected area. This temporary fix can prevent further water intrusion until you can complete a more comprehensive repair.
Knowing When to Seek Professional Help:
While many roof leak repairs can be done by homeowners, some situations may require professional expertise. If you encounter extensive damage, structural issues, or if the repair seems beyond your capabilities, it’s advisable to seek the assistance of a qualified roofing professional. Safety should always be a top priority.
Conclusion – DIY Roof Leak Success:
Inspecting and repairing roof leaks on your own is a feasible task with the right guidance and tools. By following these steps and addressing leaks promptly, you not only safeguard your home’s interior but also contribute to the longevity of your roof. Regular inspections and maintenance are key to preventing future leaks and ensuring a secure and dry living space.
For in-depth instructions and additional tips on inspecting and repairing roof leaks on your own, visit Inspect and Repair Roof Leaks on Your Own.