Master the Plunge: DIY Tips for Effective Use
When faced with a clogged drain, a plunger can be your go-to tool for a quick and effective solution. However, using a plunger effectively requires more than just a few random plunges. In this guide, we’ll explore DIY tips to master the art of plunging and keep your drains flowing smoothly.
Choosing the Right Plunger
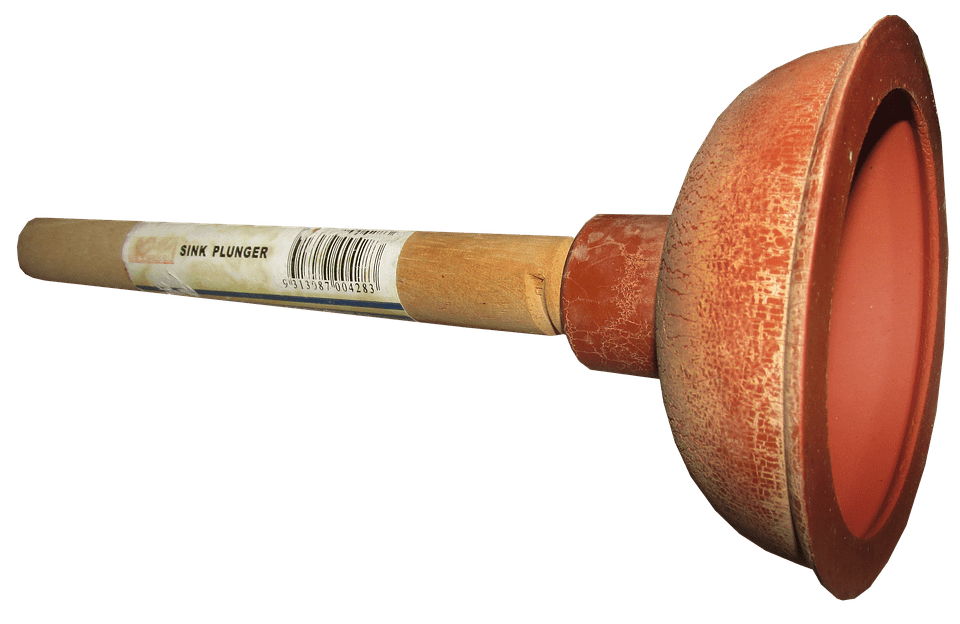
Not all plungers are created equal. To use a plunger effectively, start by choosing the right type. A cup plunger, with a flat bottom, is suitable for sinks and flat surfaces. For toilets, opt for a flange plunger, which has an extended rubber flange to fit into the toilet drain.
Creating a Good Seal
A successful plunge relies on a tight seal between the plunger and the drain. Ensure the plunger’s cup or flange is fully covering the drain opening. For sinks, apply petroleum jelly to the rim of the plunger to create a better seal. For toilets, make sure the flange is inserted into the drain opening.
Adding Water to the Equation
Before plunging, add enough water to cover the plunger’s cup or flange. This water helps create a better seal and enhances the plunging effectiveness. If you’re dealing with a clogged toilet, the added water can also increase the pressure for a more forceful plunge.
Applying Proper Plunging Technique
To use a plunger effectively, adopt the right technique. For sinks and flat surfaces, position the plunger over the drain, press it down firmly to create a seal, and then plunge up and down in a rhythmic motion. For toilets, place the flange inside the drain, push down gently, and plunge in an up-and-down motion.
Being Vigilant with Toilet Plunging
When using a plunger on a toilet, be cautious not to plunge too forcefully. Excessive force can lead to water splashing out of the bowl. Plunge with controlled, deliberate movements to avoid creating a mess. If the water level is too high, use a bucket to remove some water before plunging.
Consistency is Key
Consistency in plunging is essential for dislodging the clog. Maintain a steady and controlled pace, ensuring the plunger maintains a good seal throughout the process. A consistent plunging rhythm is more effective than sporadic, forceful attempts.
Checking for Results
After several plunging attempts, pause to check for results. If the water starts draining or if the toilet flushes normally, you’ve likely dislodged the clog. If not, repeat the plunging process until you achieve the desired results. Patience and persistence are key when dealing with stubborn clogs.
Utilizing a Plumber’s Snake for Stubborn Clogs
If the plunger doesn’t yield results, it’s time to bring in a plumber’s snake. This flexible tool can navigate through pipes to reach and remove stubborn clogs. Insert the snake into the drain and turn the handle to break up or pull out the obstruction. Exercise caution to avoid damaging the pipes.
Preventing Future Clogs
Once you’ve successfully cleared the clog, take preventive measures to avoid future issues. Use drain screens to catch debris, avoid disposing of grease or large items down drains, and regularly flush drains with hot water. Proactive maintenance can help prevent clogs and the need for frequent plunging.
Knowing When to Seek Professional Help
While a plunger is effective for many clogs, there are instances where professional help is necessary. If repeated plunging and snaking don’t resolve the issue, or if you notice recurring clogs, it’s time to call a plumber. Professional assistance ensures a thorough inspection and resolution of underlying plumbing issues.
Explore More DIY Plumbing Solutions
For additional DIY plumbing tips and insights into effectively using a plunger, visit Use a Plunger Effectively DIY. This resource offers detailed guidance, safety tips, and additional information to empower you in handling common plumbing issues at home. Mastering the art of plunging is a valuable skill for every homeowner.


