.jpg "Elevate Your Outdoor Space with Modern Backyard Furniture")


Introduction:
Painting a room is a transformative process that allows you to express your style and enhance the ambiance of your living spaces. In this comprehensive guide, we’ll take you through the steps to master the art of room painting, from preparation to the finishing touches.
Choosing the Right Paint:
Selecting the right paint is a crucial first step in the room painting process. Consider factors such as color, finish, and quality. Opt for high-quality paint to ensure a durable and long-lasting finish. If you’re unsure about the color, many paint stores offer sample sizes, allowing you to test the shade in your space before committing to a full can.
Preparing the Room:
Proper preparation is key to a successful paint job. Start by removing furniture or covering it with drop cloths. Protect the floors with painter’s tape and drop cloths as well. Fill any holes or cracks in the walls with spackle, and sand the surfaces to create a smooth canvas for the paint.
Choosing the Right Tools:
Investing in high-quality painting tools can make a significant difference in the outcome. Select brushes and rollers suitable for your chosen paint type and finish. Consider the size of the room and the type of surfaces you’ll be painting to determine the appropriate tools for the job.
Priming the Surfaces:
Priming is often overlooked but is a crucial step, especially when dealing with new or porous surfaces. Primer helps the paint adhere better, provides a uniform surface, and can enhance the durability of the paint job. Apply primer to the walls and allow it to dry before moving on to the next steps.
Using Painter’s Tape Effectively:
Painter’s tape is a valuable tool for achieving clean, crisp lines. Use it to mask off areas you don’t want to paint, such as baseboards, trim, and corners. Take the time to apply the tape carefully, ensuring it adheres well to prevent paint bleed. Remove the tape once the paint is dry to the touch but not fully cured.
Mastering Cutting-In Techniques:
Cutting-in refers to the process of painting along the edges and corners of the walls before using a roller. Use a high-quality angled brush for precision. Take your time to create straight lines and even coverage, as this sets the foundation for the rest of the paint job.
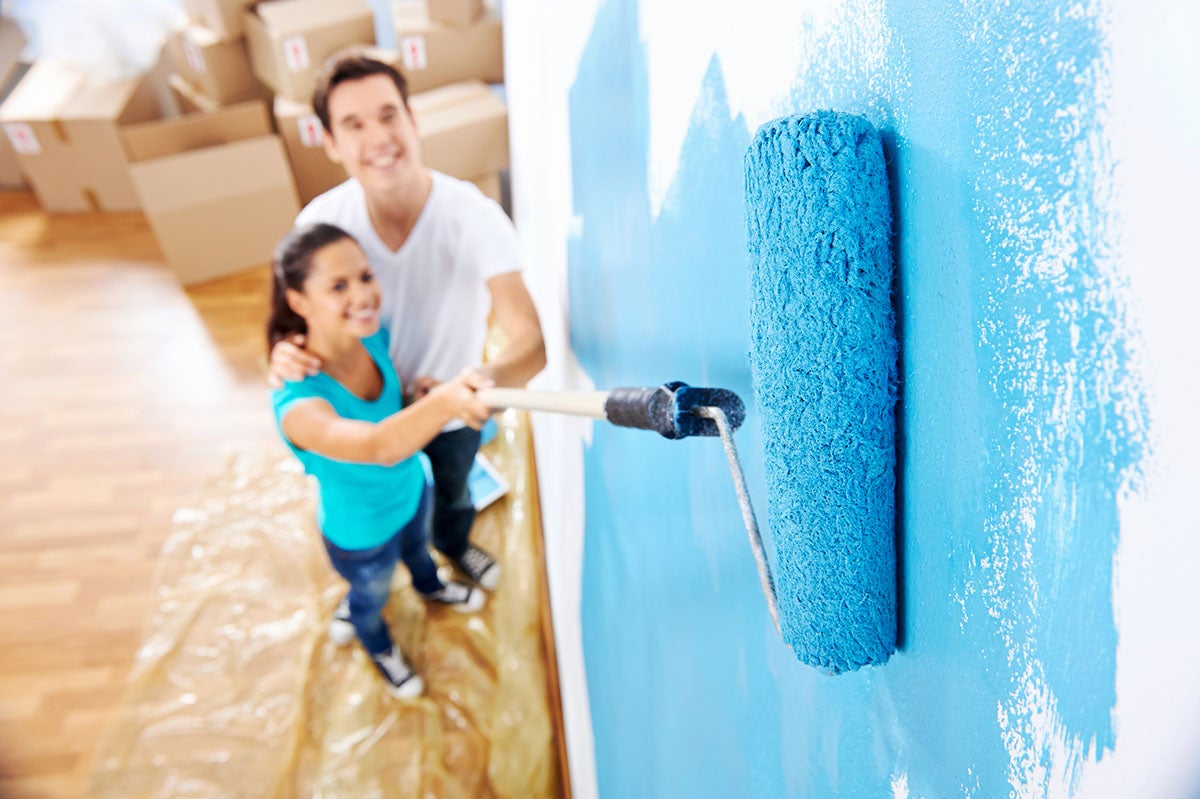
Efficient Roller Painting:
When it’s time to paint the larger areas of the walls, use a roller for efficiency. Load the roller evenly with paint and apply it in a “W” or “M” pattern to ensure even coverage. Work in small sections and blend the edges for a seamless finish. Be mindful of the roller pressure to avoid streaks.
Creating Texture and Depth:
Experiment with different painting techniques to add texture and depth to your room. Techniques such as sponge painting, color washing, or using a textured roller can create interesting effects. These techniques work particularly well in accent walls or areas where you want to add visual interest.
Allowing for Proper Drying Time:
Patience is essential when painting a room. Allow each coat of paint to dry thoroughly before applying the next. Rushing the process can result in uneven coverage and may require additional touch-ups. Follow the recommended drying times specified on the paint cans.
Adding Finishing Touches:
Once the final coat is dry, inspect the room for any uneven areas or missed spots. Touch up as needed, and remove any painter’s tape carefully. Reinstall furniture and decor, and step back to admire your freshly painted room. Consider adding new decor or rearranging furniture to complement the new color scheme.
Conclusion:
Painting a room is a gratifying DIY project that can instantly transform your living spaces. By following these steps and painting a room, you can create a personalized and inviting environment. Whether you’re updating a single room or tackling a whole-house project, mastering the art of room painting allows you to infuse your home with your unique style and creativity.