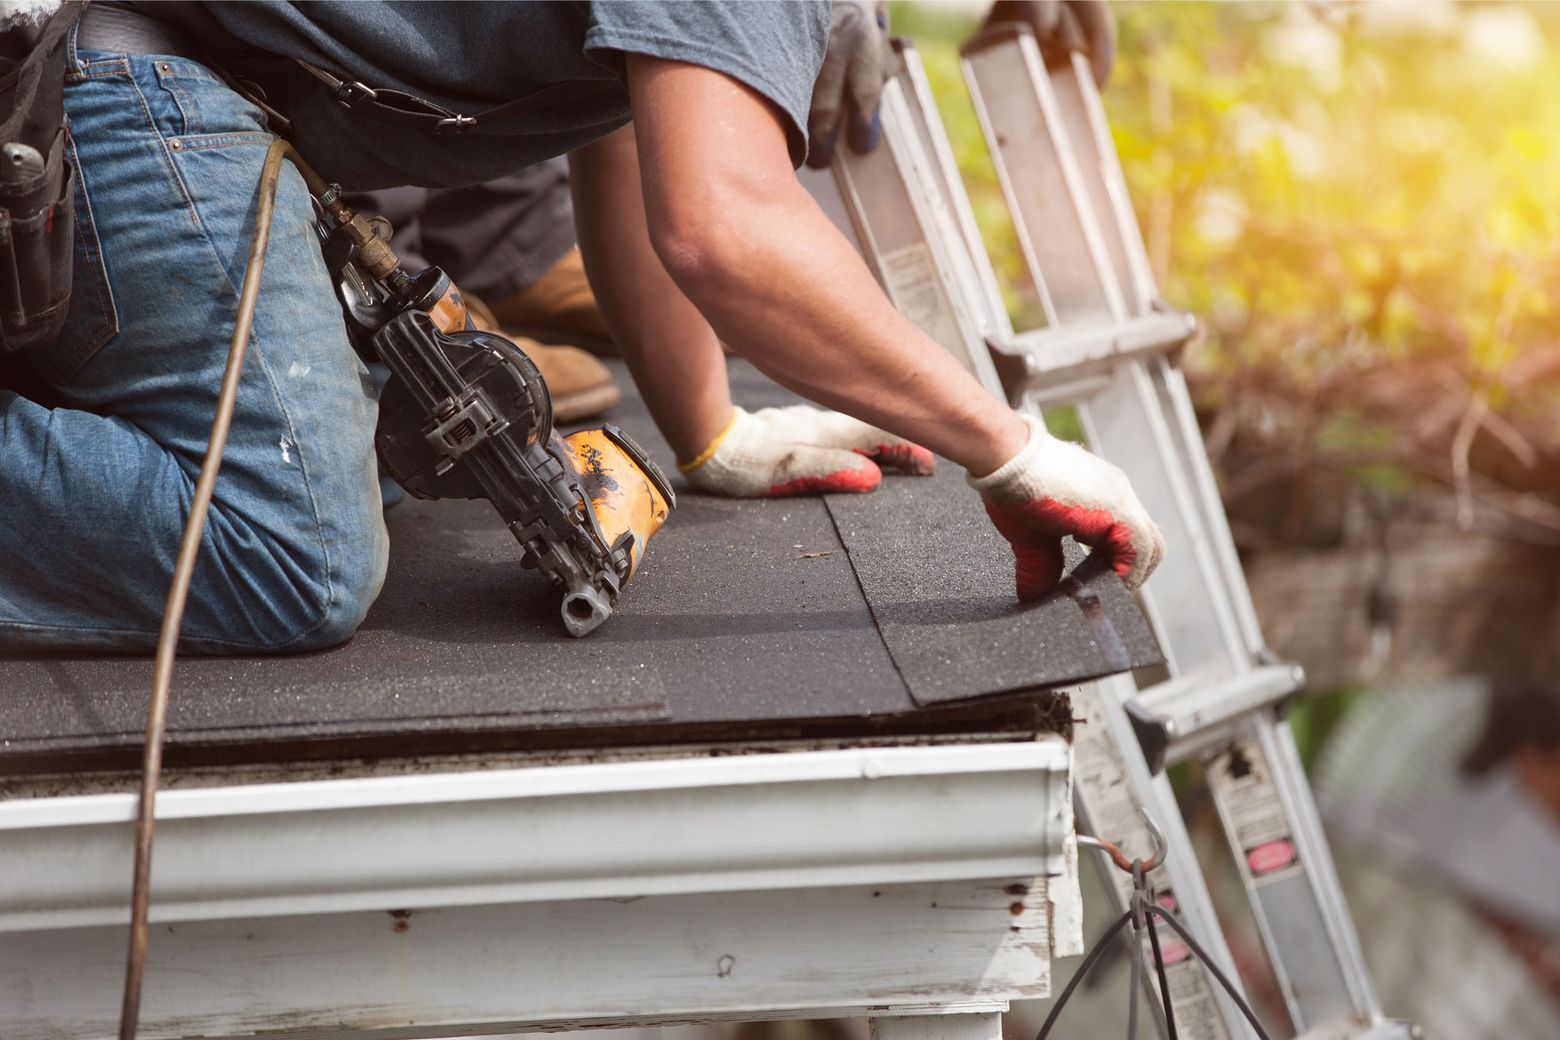
Roof Leak Inspection and Repair: A DIY Guide for Homeowners
Roof leaks can be a homeowner’s nightmare, but the good news is that many minor leaks can be inspected and repaired on your own. This DIY guide will walk you through the process, helping you identify and fix roof leaks, safeguarding your home from potential water damage.
1. Assess the Interior Damage
Before venturing onto the roof, start by assessing the interior damage. Look for water stains on the ceiling, discolored areas, or peeling paint. These signs can give you an idea of the general location of the leak. It’s crucial to fix leaks promptly to prevent further damage to your home’s structure.
2. Safely Access the Roof
Safety is paramount when inspecting and repairing your roof. Use a sturdy ladder and ensure it’s securely positioned. Wear appropriate safety gear, including non-slip shoes and a harness if necessary. Only proceed if you feel comfortable and confident in your ability to navigate the roof safely.
3. Inspect Shingles and Flashing
Once on the roof, carefully inspect the shingles and flashing. Look for damaged or missing shingles, cracks, or gaps in the flashing around chimneys and vents. Damaged flashing is a common source of leaks, and addressing these issues promptly can prevent water from seeping into your home.
4. Check for Cracked Sealant and Caulk
Roof sealant and caulk play a crucial role in maintaining a watertight roof. Inspect areas where sealant is applied, such as around vents and chimneys, for any cracks or gaps. If you notice any issues, remove the old sealant and apply a new layer to ensure a proper seal.
5. Examine Vent Boot and Pipe Collars
Vent boots and pipe collars are potential weak points in the roof’s structure. Check for any cracks or deterioration around these areas. If the rubber boot is damaged, replace it promptly to prevent water infiltration.
6. Clear Debris from Gutters and Downspouts
Clogged gutters and downspouts can contribute to roof leaks by causing water to pool on the roof. Regularly clear debris from gutters and ensure downspouts are directing water away from the foundation. This simple maintenance task can prevent water-related issues.
7. Investigate Skylights and Chimneys
Skylights and chimneys are prone to leaks due to their complex structures. Inspect the seals and flashing around these features, looking for signs of wear or damage. Reapply sealant or repair flashing as needed to maintain a watertight seal.
8. Utilize Roof Patching Material
For small roof leaks, consider using roof patching material. This can be applied to damaged shingles or areas with minor cracks. Follow the product instructions carefully and ensure the application area is clean and dry for the best results.
9. Monitor Interior Repairs
After addressing the exterior issues, monitor the repaired areas from inside your home. Check for any signs of recurring leaks or additional damage. Promptly address any issues that arise to prevent further water infiltration.
10. Consider Professional Help for Extensive Damage
While many roof leaks can be addressed with DIY efforts, extensive damage or complex issues may require professional assistance. If you’re unsure or uncomfortable with the extent of the repairs, consult a roofing professional to ensure your roof is in optimal condition.
Explore Fund Your Purpose for Home Maintenance Tips
For more home maintenance tips and DIY guides, visit Fund Your Purpose. The platform offers valuable resources to empower homeowners in various DIY endeavors. Remember, regular roof inspections and timely repairs are essential for maintaining a watertight home and preventing costly water damage.


