Sink Installation: Upgrade Your Space with a Stylish Addition
Installing a new sink is a transformative home improvement project that not only enhances functionality but also adds a touch of style to your space. In this guide, we’ll take you through the steps of installing a new sink, from preparation to finishing touches, to help you achieve a seamless and visually appealing upgrade.
Preparation and Planning: Setting the Foundation for Success
Before diving into the installation process, careful preparation and planning are essential. Start by selecting a sink that complements your kitchen or bathroom design and fits within the existing countertop space. Measure the dimensions of the new sink and ensure they align with the cutout in your countertop. Gather all necessary tools and materials, including a wrench, screwdriver, plumber’s putty, and silicone sealant.
To learn more about installing a new sink, visit Install a New Sink.
Removing the Old Sink: Clearing the Path for the New
Begin the installation process by disconnecting the plumbing and turning off the water supply to the existing sink. If applicable, disconnect the garbage disposal and any other accessories. Loosen the clips or adhesive securing the sink to the countertop and carefully lift it out. Thoroughly clean the countertop and inspect the underlying structure for any damage or issues that need addressing before installing the new sink.
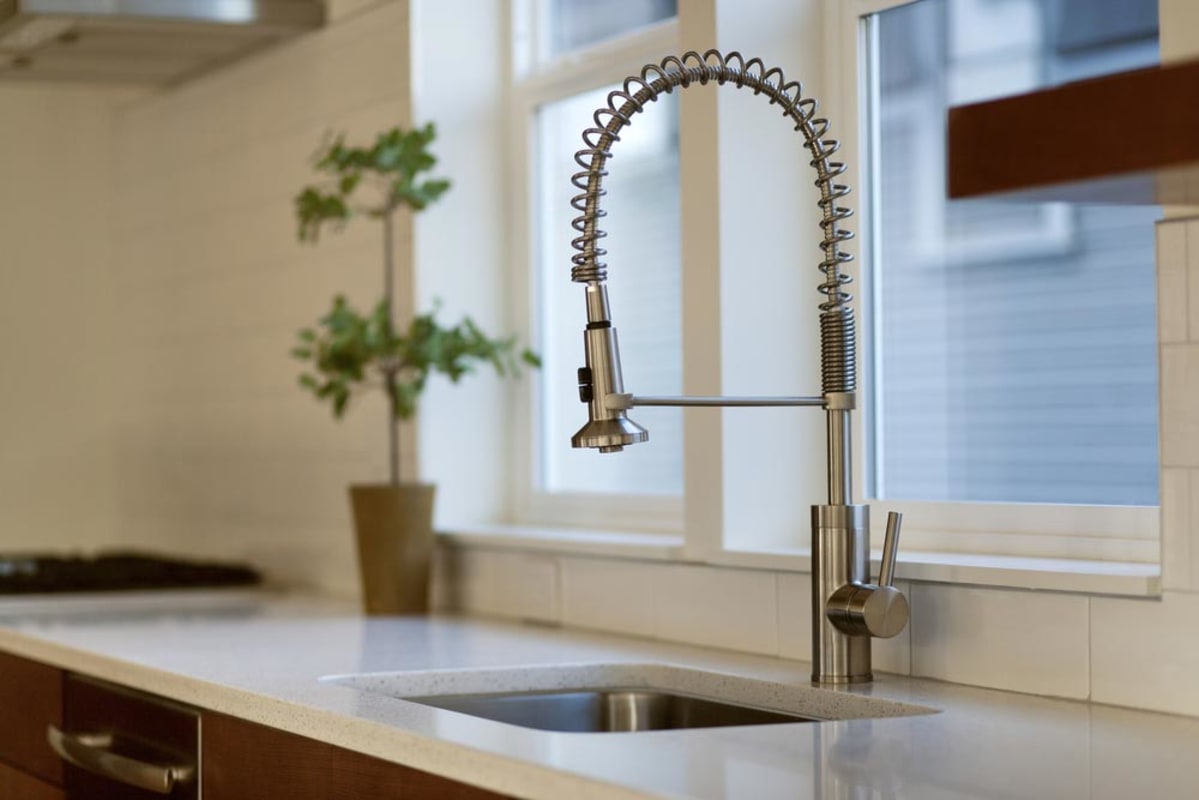
Installing the Faucet and Drain: Connecting the Essentials
With the old sink removed, it’s time to install the new faucet and drain components. Follow the manufacturer’s instructions for assembling the faucet, and secure it to the sink according to the provided guidelines. Connect the drain components, ensuring a proper seal with plumber’s putty. Double-check that all connections are secure and aligned before moving on to the next steps.
Placing the New Sink: Ensuring a Snug Fit
Carefully position the new sink into the designated cutout in the countertop. If your sink has clips or brackets, use them to secure the sink to the countertop. Ensure the sink is level and centered within the cutout. Once in place, reconnect the plumbing, including the faucet supply lines and drain connections. Tighten all connections with the appropriate tools, taking care not to overtighten and damage the components.
Sealing the Edges: Preventing Leaks and Water Damage
To prevent water leaks and potential damage, create a watertight seal around the edges of the sink. Apply a bead of clear silicone sealant along the perimeter where the sink meets the countertop. Smooth the sealant with a damp cloth for a neat finish. This step not only ensures a secure installation but also adds a professional touch to the overall appearance.
Testing for Leaks: Verifying a Successful Installation
Before celebrating the completion of your sink installation, it’s crucial to test for leaks. Turn on the water supply and check all connections for any signs of water seepage. Run water through the faucet and drain to ensure proper functionality. Address any leaks immediately by tightening connections or applying additional sealant as needed.
Connecting the Plumbing: Reestablishing Water Flow
With the sink securely in place and leak-free, reconnect the plumbing beneath the sink. Reattach the garbage disposal if applicable and ensure all connections are tight and secure. Turn on the water supply and check for any unusual sounds or vibrations, indicating potential issues with the plumbing connections.
Finishing Touches: Enhancing the Aesthetic Appeal
Once the sink is fully functional, take the opportunity to enhance its aesthetic appeal. Install any additional accessories, such as a soap dispenser or a pull-out spray nozzle for the faucet, to make your sink more versatile and convenient. Wipe down the sink and surrounding area, ensuring a clean and polished finish.
Regular Maintenance: Prolonging the Lifespan
To ensure the longevity of your newly installed sink, practice regular maintenance. Clean the sink and faucet regularly using a mild detergent and a soft cloth. Avoid using abrasive cleaners that could damage the finish. Check for any signs of wear or issues with the plumbing components, addressing them promptly to prevent more significant problems.
Conclusion: Enjoying a Functional and Stylish Upgrade
Installing a new sink is a rewarding home improvement project that brings both functionality and style to your kitchen or bathroom. By following these steps and paying attention to detail, you can achieve a seamless and visually appealing upgrade. Enjoy your newly installed sink and the enhanced practicality and aesthetics it brings to your living space.