Introduction:
A clogged drain can be a frustrating issue in any household. Knowing how to use a plunger effectively is a valuable DIY skill that can save you time and money. In this guide, we’ll provide step-by-step instructions on using a plunger to clear blockages in sinks, toilets, and showers, empowering you to tackle these common plumbing problems on your own.
Choosing the Right Plunger:
Before diving into the process, it’s crucial to choose the right plunger for the job. For sinks and tubs, use a cup-shaped plunger with a flat bottom. Toilets require a flange plunger with an extended rubber flange designed to fit into the drain opening. Selecting the appropriate plunger sets the stage for a successful plunge.
Preparing the Area:
Before using the plunger, prepare the area by removing excess water if applicable. For sinks and tubs, bail out standing water using a cup or bucket. In the case of a toilet, adjust the water level by turning off the supply valve and flushing. This minimizes potential splashing during the plunging process.
Plunging a Sink or Tub:
For sink and tub blockages, place the plunger over the drain opening, ensuring a tight seal. If the plunger doesn’t cover the entire opening, it won’t create the necessary suction. Press down firmly and then pull up forcefully, creating a vacuum effect. Repeat this motion several times, maintaining a tight seal. The suction and pressure changes should dislodge the blockage.
Plunging a Toilet:
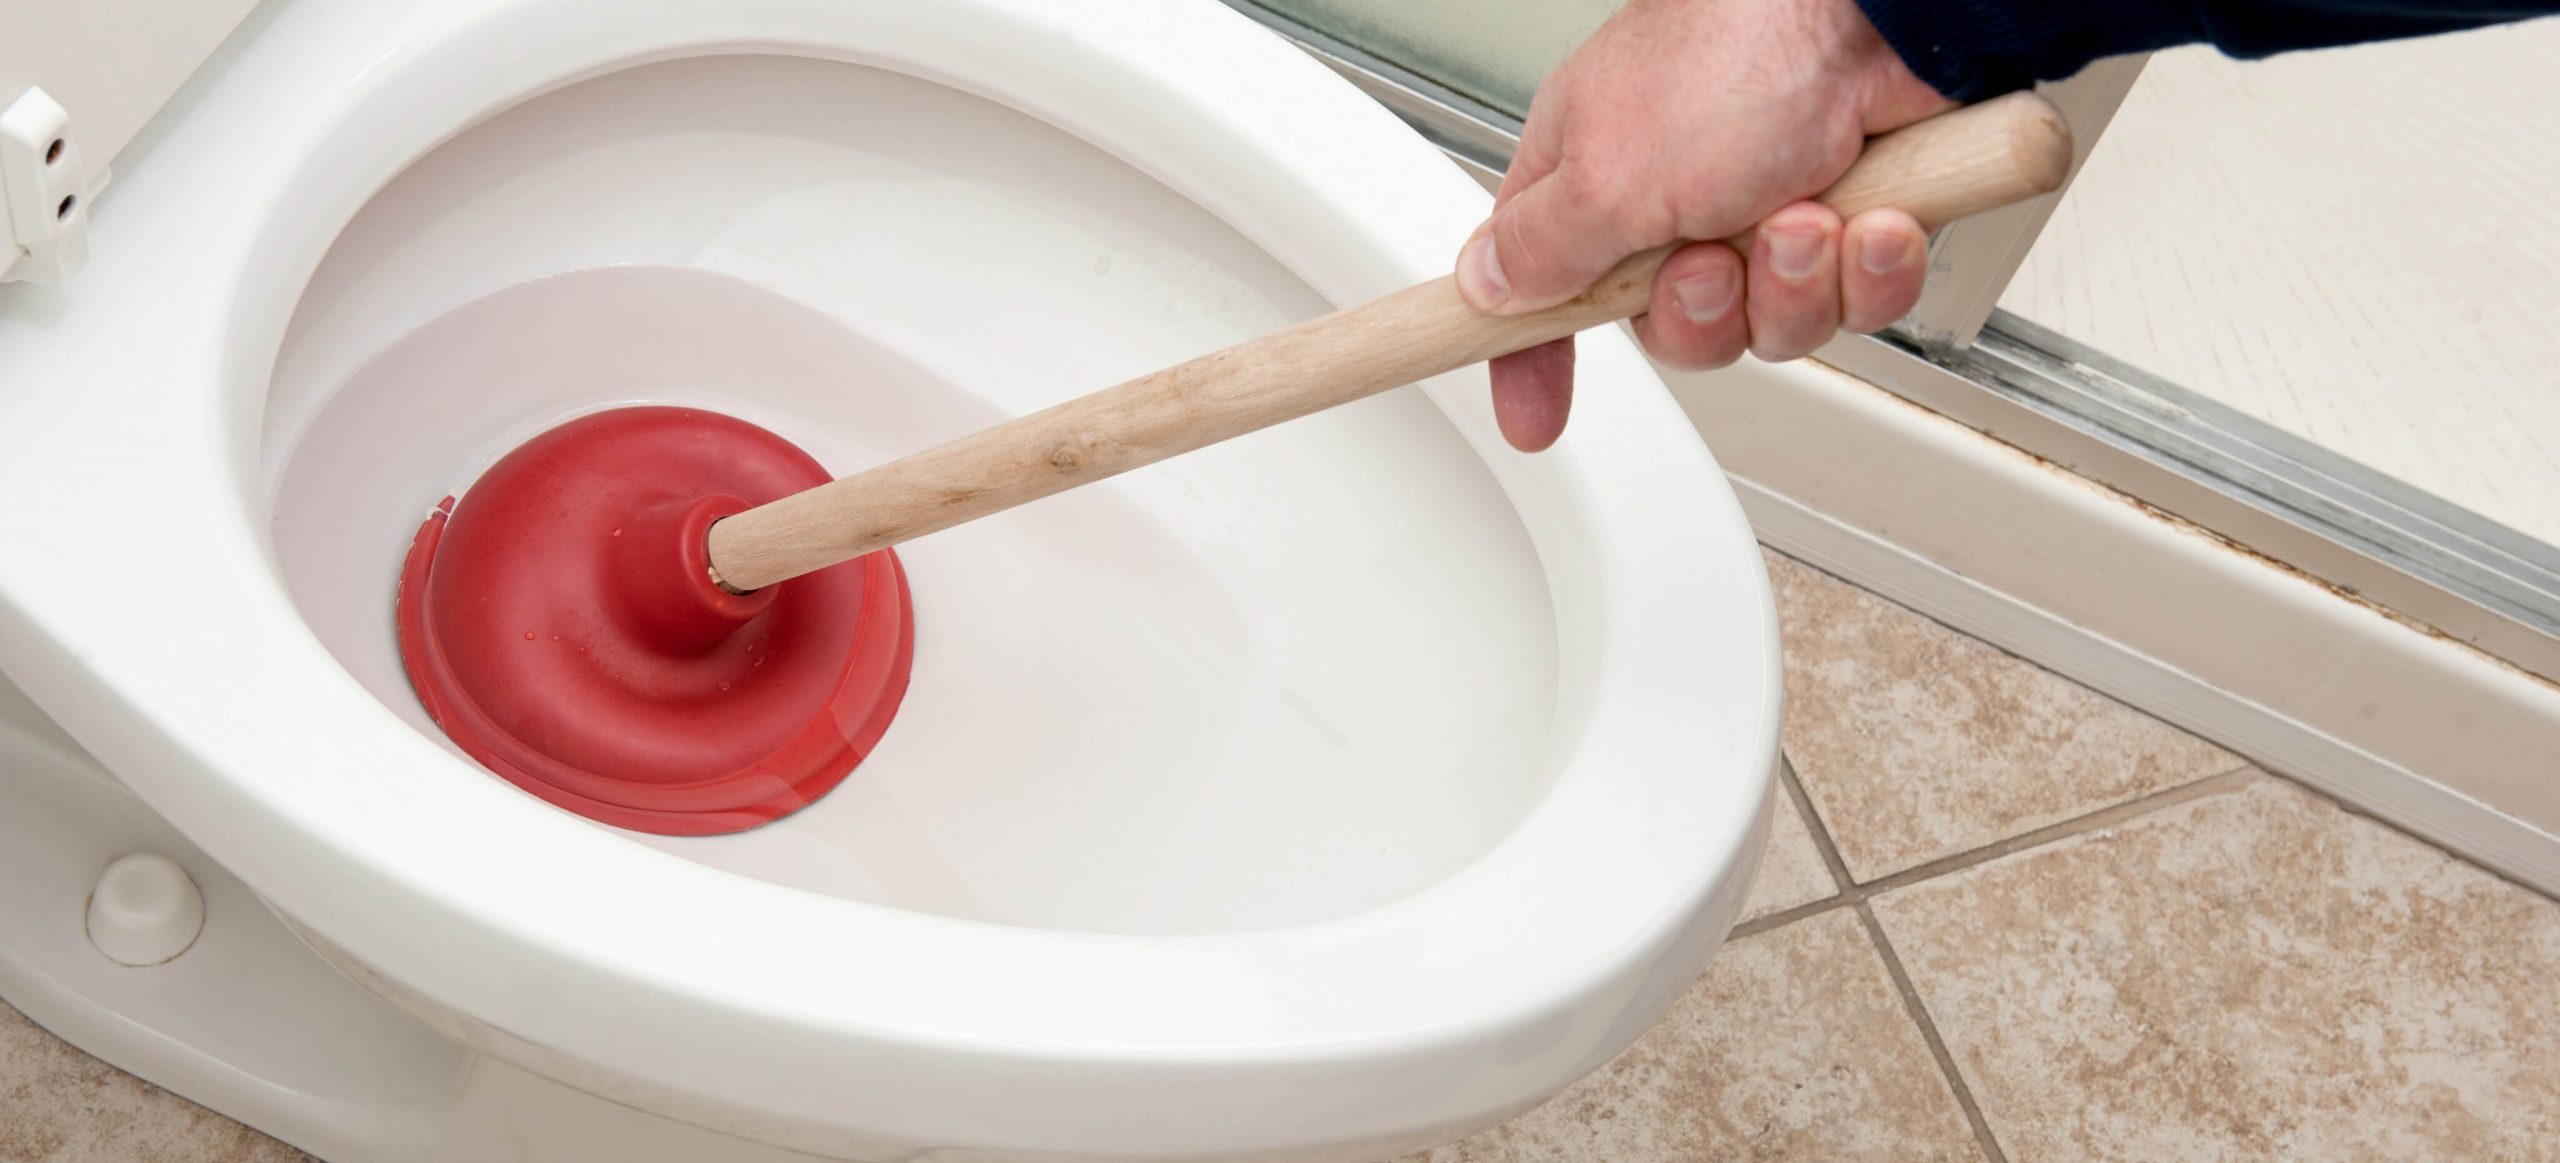
When dealing with a toilet blockage, position the flange of the plunger over the drain opening. Ensure a secure seal by pressing down firmly. Begin with gentle plunges to avoid splashing, gradually increasing the force if necessary. The goal is to create enough suction to dislodge the blockage. Continue plunging until the water starts to drain, indicating the blockage has cleared.
Using Proper Technique:
Effective plunging requires proper technique. Keep the plunger perpendicular to the drain opening and maintain a consistent up-and-down motion. Avoid breaking the seal between the plunger and the drain during the plunging process. The key is to create pressure changes that force the blockage to move.
Testing for Success:
After a series of plunges, test the drain to see if the blockage has cleared. Run water in sinks or tubs and flush toilets to ensure proper drainage. If the water drains smoothly, you’ve successfully cleared the blockage. If not, repeat the plunging process or consider additional methods like using a plumbing snake.
Cleaning and Disinfecting:
After successfully using the plunger, it’s important to clean and disinfect the tool. Rinse the plunger thoroughly with hot water, and then sanitize it with a mixture of water and bleach or a disinfectant. Proper cleaning prevents the spread of bacteria and ensures the plunger is ready for future use.
When to Seek Professional Help:
While using a plunger is an effective DIY method for many blockages, some issues may require professional assistance. If repeated plunging doesn’t resolve the problem, or if you notice multiple drains affected simultaneously, it could indicate a larger plumbing issue. In such cases, it’s advisable to consult with a professional plumber.
Conclusion – DIY Plumbing Success:
Knowing how to use a plunger effectively is a practical skill that every homeowner should possess. By following these step-by-step instructions, you can confidently tackle common plumbing blockages on your own. Regular maintenance and prompt action can prevent more significant plumbing issues, saving you time and money in the long run.
For detailed instructions and additional tips on using a plunger effectively, visit Use a Plunger Effectively DIY.


